Did you know kids eat over 300 calories and 37 grams of sugar in one serving of this dessert? It’s a mix of crushed chocolate sandwich cookies, instant chocolate pudding, and gummy worms. It’s a favorite at kids’ parties and events across the U.S.
Looking to surprise your little one on their birthday or impress everyone at a potluck? This dirt and worms recipe is perfect. It’s easy to make and loved by both kids and adults.
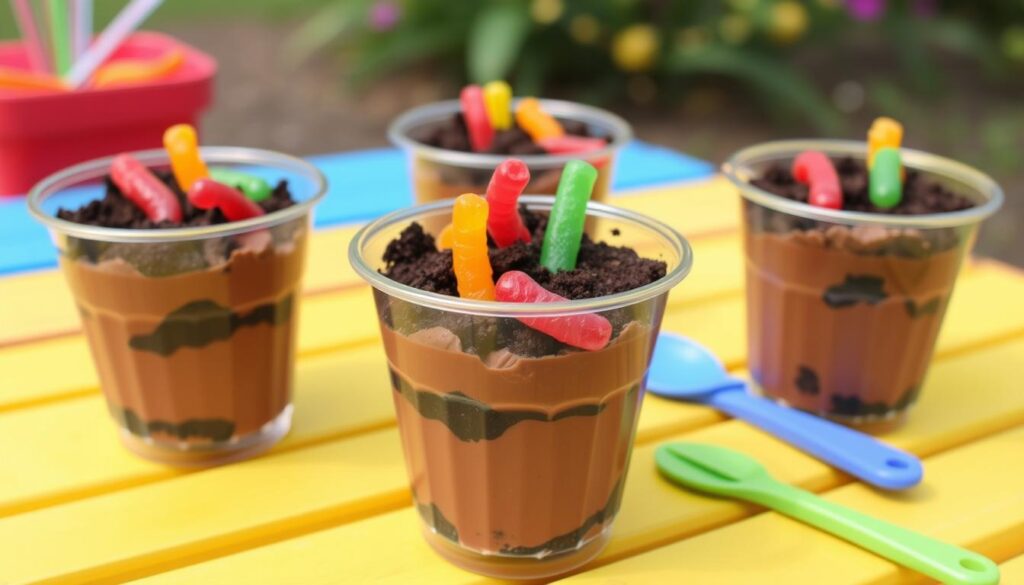
Table of Contents
Key Takeaways
- The dirt and worms dessert is a classic, crowd-pleasing treat for kids’ parties and events.
- This recipe is easy to make and can be customized to accommodate various dietary needs and preferences.
- The dessert can be served in a variety of ways, from individual cups to a larger trifle-style presentation.
- The recipe includes essential ingredients like Oreo cookies, chocolate pudding, and gummy worms, which can be enhanced with creative decorations.
- The dessert is a great summertime treat as it requires no baking and is served cold.
Introduction to Dirt and Worms Dessert
The “dirt and worms” dessert has been a favorite for kids for decades. It mixes chocolate pudding, crushed cookies, and gummy worms for a fun treat. This recipe started in the 1980s in the United States, becoming a hit for kids.
History of This Popular Kids’ Treat
In the 1980s, the “dirt and worms” dessert became a hit in the United States. It turned a simple chocolate pudding into a fun treat for kids. The crushed cookies and gummy worms made it look like a garden, exciting kids.
Why Kids Love This Recipe
Kids love this dessert because it’s fun to make and looks cool. They enjoy crushing cookies and placing gummy worms on top. The mix of chocolate pudding, cookie crumbs, and gummy worms is a hit with kids. Plus, they can decorate it, making it a fun activity.
Required Ingredients for the Perfect Dirt Cup
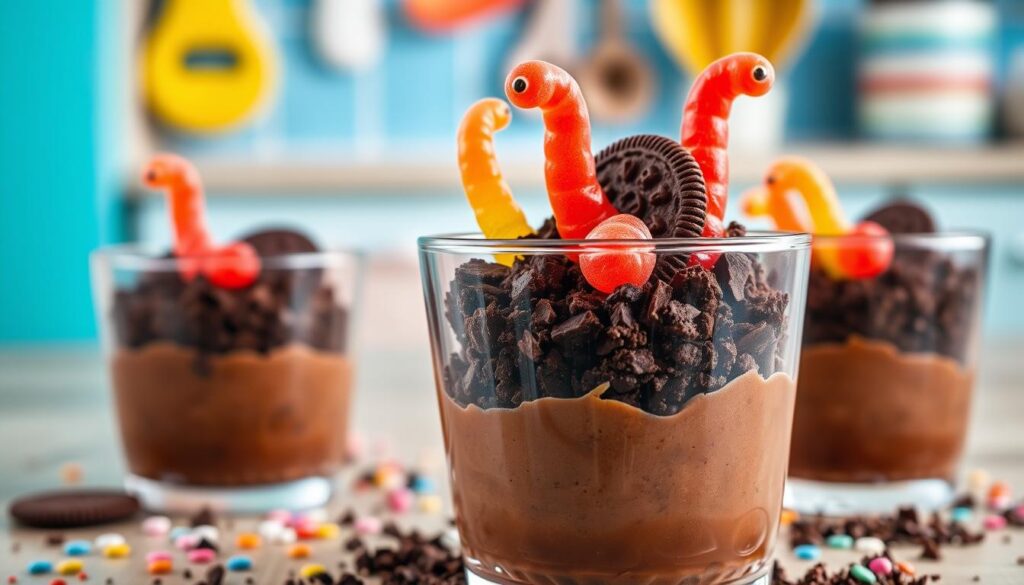
To make the ultimate dirt and worms dessert, you’ll need a few key ingredients. Chocolate cream-filled sandwich cookies are at the heart of this treat. They give the “soil” texture when crushed. You’ll need about 12-16 ounces of these cookies.
For the “worms,” a 3-ounce package of gummy worms is perfect. They add a fun touch to the dessert.
To hold it all together, you’ll need a 3.9-4 ounce package of instant chocolate pudding mix and 2 cups of milk. The pudding mix gives the dessert a rich, chocolatey flavor and creamy texture. An optional ingredient is an 8-ounce container of frozen whipped topping. It adds a creamy texture.
With these simple ingredients, you’re on your way to making a perfect dirt and worms dessert. It’s a treat that kids and adults will love. The mix of crunchy cookie “soil,” smooth chocolate pudding, and chewy gummy worm “bugs” is both visually appealing and delicious.
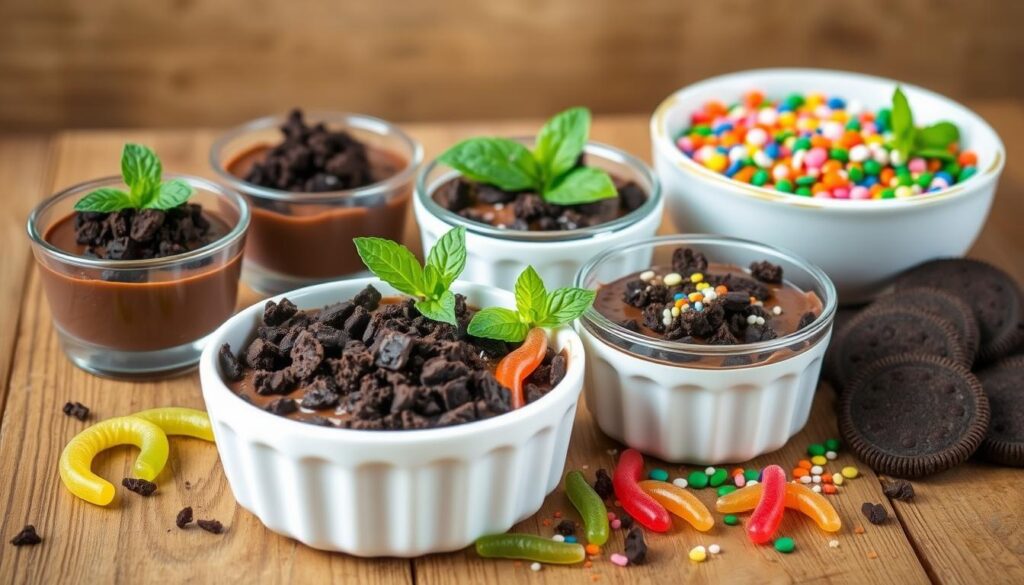
The secret to a great dirt cup is balancing the ingredients. You want to mimic the look and texture of real soil but still enjoy a sweet dessert. With a bit of creativity and attention to detail, you can make this classic treat even better.
Essential Kitchen Tools and Equipment
To make the perfect Graveyard Dirt Cake, you need the right tools. From basic utensils to decorating touches, we’ll cover what you need. This will help you bring this spooky dessert to life.
Basic Utensils Needed
- A mixing bowl for combining the pudding and crushed cookies
- A whisk for efficiently mixing the pudding
- A spoon for layering the dirt and worms in the serving cups
- A gallon-sized plastic bag or a food processor for crushing the Oreo cookies
Optional Decorating Tools
For an extra touch, consider these decorating tools:
- Piping bags for neatly piping the whipped topping or decorative elements
- An assortment of candies, sprinkles, or other spooky toppings to customize your dessert
Storage Containers
For serving and storing, you have options:
- Small, clear glasses or ramekins to showcase the layered effect
- Cupcake wrappers or small, disposable cups for individual servings
- Larger, clear containers or a trifle dish for a more substantial dessert
Having the right tools is key for a great Graveyard Dirt Cake. With the basics and some extra touches, you’ll create a spooktacular treat. It’s sure to impress your guests.

Step-by-Step Dirt and Worms Recipe
Making “dirt and worms” dessert is fun for kids and adults. It’s great for birthdays, school events, or family gatherings. Here’s how to make this tasty treat at home.
- Crush your favorite Oreo cookies into fine crumbs. This will be the “dirt” part of your dessert.
- Then, prepare the pudding as the package says. Mix it with milk for 2 minutes until it’s creamy.
- For creamier pudding, add whipped topping and half of the cookie crumbs. Mix well.
- Layer cookie crumbs and pudding in cups. This makes a cool “dirt and worms” look.
- Top with more cookie crumbs for the “dirt” look.
- Add gummy worms on top for fun. This brings the dessert to life.
- Chill the cups for 1 hour. This lets the flavors mix and the dessert set.
This simple recipe makes a fun and eco-friendly dessert. It’s great for any event. It’s also a fun way to teach kids about gardening and diy soil amendment. Enjoy this eco-friendly gardening tips dessert with your family!
| Ingredient | Amount |
|---|---|
| Oreo cookies, crushed | 1 cup |
| Pudding mix | 5.85 oz |
| Milk | 3 cups |
| Whipped topping (optional) | 1 cup |
| Gummy worms | 18 pieces |
The secret to a great natural fertilizer methods dessert is detail and creativity. Enjoy making it with your loved ones!
Choosing the Right Cookies for the “Dirt”
Choosing the right cookies is key for a great “dirt” dessert. Chocolate sandwich cookies, like Oreos, are perfect. Their dark color and crunchy texture look and feel like real soil. For a more realistic look, remove the cream filling before crushing the cookies.
Best Cookie Options
- Oreo cookies (18-19 oz package recommended)
- Store-brand chocolate sandwich cookies, if preferred
- Hershey’s Special Dark cocoa powder for an ultra-rich chocolate flavor (1 cup in the recipe)
Crushing Techniques
There are a few ways to get the right dirt texture. One way is to put cookies in a resealable bag and crush them with a rolling pin. This makes fine crumbs. You can also use a food processor for a quick, even grind.
| Crushing Method | Preparation Time | Texture Achieved |
|---|---|---|
| Resealable Bag and Rolling Pin | 5-10 minutes | Slightly coarser, more “chunky” dirt appearance |
| Food Processor | 2-3 minutes | Finer, more uniform dirt-like texture |
It’s all about getting a texture that looks and feels like real dirt. Try different methods to find the one that suits your dessert best.
Pudding Mix Tips and Tricks
When making your dirt and worms recipe, the pudding mix is crucial. A few simple tips can make your dirt and worms dessert taste and feel better. Let’s look at how to use pudding mix to make a tasty edible insects treat.
Start with instant chocolate pudding mix. It sets fast, so your edible earthworms dessert is ready quickly. Use cold milk for mixing. The colder the milk, the creamier the pudding will be.
- Whisk the pudding mix and milk together until smooth and creamy.
- Let the pudding stand for 5 minutes before assembling your dirt and worms dessert. This extra time allows the mixture to thicken to the perfect consistency.
- For an even richer, more indulgent flavor, consider using a chocolate fudge pudding mix or adding a teaspoon of cocoa powder to the vanilla pudding.
| Ingredient | Quantity |
|---|---|
| Instant chocolate pudding mix | 2 packages |
| Cold milk | 1-1/3 cups |
| Cocoa powder (optional) | 1 teaspoon |
By following these tips, you’ll make a dirt and worms recipe that everyone will love. Enjoy the mix of chocolatey pudding, crushed cookies, and chewy edible insects in your homemade edible earthworms treat.
Creative Decorating Ideas with Gummy Worms
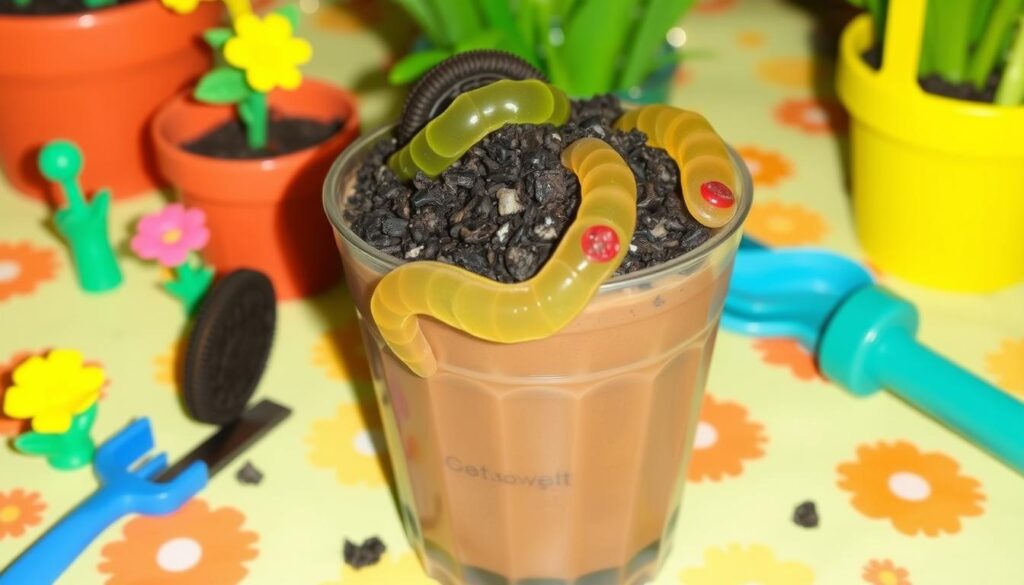
Make your dirt and worms dessert come alive with fun gummy worm decorations. Place the gummy worms halfway into the “dirt” for a natural look. Use different sizes and colors to make it interesting.
Placement Techniques
Press the gummy worms into the crushed Oreo “dirt” at various angles. This creates a whimsical effect. You can also arrange them in a pattern to look like they’re coming out of the soil.
Additional Candy Decorations
- Add crushed nuts or chocolate chips to look like pebbles or soil.
- Use candy rocks or themed candies for a garden-inspired border.
- For Halloween, add themed candies to match the event.
These decorating ideas can turn your organic gardening or vermiculture recipes into a stunning dessert. It will impress both kids and adults.
Storage and Make-Ahead Instructions
Preparing the dirt and worms dessert ahead of time saves you time. It’s great for busy parents or Halloween party hosts. Follow these easy storage tips to enjoy your dirt cups anytime.
The pudding mixture can be made up to 24 hours in advance. Store it in the fridge, covered with plastic wrap to avoid a skin. Add the crushed soil nutrients (Oreo crumbs) and gummy worm “worms” just before serving. This keeps the worms fresh and prevents them from getting sticky.
If using individual serving cups or cupcake wrappers, the Oreo crumbs might get soggy after a few days. For the best results, assemble the dirt cups no more than a day in advance. The dish can be stored for up to 5 days, but add the gummy worms just before serving.
| Preparation Time | Cooking Time | Serving Size | Total Calories |
|---|---|---|---|
| 10 minutes | 3 hours | 12 people | 428 kcal per serving |
Remember, you can adjust the natural fertilizers and composting methods to your liking. Try different cookie varieties or add edible dirt-like toppings for a unique twist on this classic Halloween dessert.
“Preparing the dirt and worms dessert in advance is a game-changer for busy parents or Halloween party hosts. With these easy storage tips, you can enjoy this spooky treat anytime!”
Nutritional Information and Serving Size
The Dirt and Worms dessert is a tasty treat that’s high in calories and sugar. Each serving has about 383-433 calories, with 9-19 grams of fat, 62-70 grams of carbs, and 6-8 grams of protein. It’s loved by kids and adults for its creamy texture and fun gummy worms. But, it’s important to eat it in small amounts because of its sugar content.
Caloric Content
The dessert’s calories come from the cookies, pudding mix, and gummy worms. To make it healthier, try using sugar-free pudding mix or low-fat milk. These changes can reduce calories without losing the yummy taste.
Dietary Considerations
Be careful with ingredients like milk and wheat in the dessert. For those with allergies, there are gluten-free or dairy-free options. People following special diets, like foraging or composting guides, might need to adjust the recipe.
| Nutrient | Amount per Serving |
|---|---|
| Calories | 383 – 433 |
| Fat | 9 – 19 g |
| Carbohydrates | 62 – 70 g |
| Protein | 6 – 8 g |
“This Dirt and Worms dessert is a delightful treat that brings back nostalgic childhood memories. While it’s important to enjoy it in moderation, the combination of creamy pudding, crunchy cookies, and chewy gummy worms creates a truly irresistible experience.”
Special Occasion Variations
Make your dirt and worms dessert special for any event with these ideas. Just change a few ingredients to fit the theme or season.
For a spooky Halloween treat, use orange pudding mix and black cookie crumbs. They look like dirt. Top it with candy corn or pumpkin candies for a festive touch.
- Add the birthday person’s favorite candies or decorations for a birthday treat.
- Make a magical garden scene by coloring coconut green. Then, place candy flowers around it.
- For autumn, add crunchy candies like candy corn or pumpkin shapes.
There are many ways to make this kids’ favorite dessert special. Try different puddings, cookie crumbs, and candies for any occasion.
“This dirt and worms recipe is a classic that can be easily adapted for any holiday or celebration. It’s a fun, interactive way to get kids involved in the kitchen.”
Common Recipe Mistakes to Avoid
When making the dirt and worms dessert, it’s important to avoid a few mistakes. Don’t over-crush the cookies, as it can make them too soft. Also, add the gummy worms just before serving to keep them chewy.
Make sure the pudding is set before adding toppings. Rushing this can make it look messy. Also, don’t fill the containers too much. Leave space for the gummy worms and other toppings.
When making the pudding, use cold milk for the right texture. Warm or room-temperature milk can make it too runny.
| Common Mistake | Consequence | Solution |
|---|---|---|
| Over-crushing cookies | Paste-like texture | Crush cookies to a coarse, crumbly consistency |
| Adding gummy worms too early | Soggy worms | Add gummy worms just before serving |
| Insufficient pudding setting time | Messy appearance | Refrigerate pudding until fully set |
| Overfilling serving containers | Limited space for toppings | Leave room for decorations and worms |
| Using warm milk for pudding | Runny, undesirable texture | Use cold milk for perfect consistency |
Avoiding these mistakes will make your dirt and worms dessert a hit. It will have the right mix of crunch, creaminess, and fun. Paying close attention to detail is crucial for this beloved treat.
Conclusion
The dirt and worms recipe is a hit with both kids and adults. It’s easy to make and looks great. This guide will help you make a memorable dessert that everyone will love.
This recipe is perfect for any event, like birthdays or Halloween. You can use different ingredients to make it your own. It’s also easy to make ahead, which is great for busy days.
Have fun making your dirt and worms recipe. Share your creations online and inspire others. This dessert is sure to make everyone happy and satisfied.
F.A.Q
What is the dirt and worms recipe?
The dirt and worms recipe is a fun dessert. It mixes crushed chocolate sandwich cookies, instant chocolate pudding, and gummy worms. This creates a treat that looks like dirt with worms.
Where did the dirt and worms dessert originate?
This dessert has been a hit with kids for decades. It started as a way to make chocolate pudding more fun for them.
Why are kids so drawn to the dirt and worms recipe?
Kids love it because of its fun look and taste. They also enjoy helping to make it.
What are the essential ingredients for the dirt and worms dessert?
You’ll need chocolate sandwich cookies, instant chocolate pudding mix, milk, and gummy worms. You can also add frozen whipped topping for extra creaminess.
What basic utensils are needed to make the dirt and worms dessert?
You’ll need a mixing bowl, whisk, spoon, and a way to crush cookies. You might also use piping bags and candy for decorating.
How do you layer and serve the dirt and worms dessert?
Layer cookie crumbs and pudding in containers. Top with more crumbs and decorate with gummy worms. Chill for at least an hour before serving.
What types of chocolate cookies work best for the dirt and worms recipe?
Oreos are perfect for a dirt look. Remove the cream before crushing for a better effect.
How can you enhance the flavor and texture of the dirt and worms dessert?
Try using chocolate fudge pudding or add cocoa powder for a deeper flavor. Whipped topping and cookie crumbs can make it creamier.
How can you decorate the dirt and worms dessert?
Place gummy worms in the “dirt” for a fun look. Use different worm sizes and colors. Add candy rocks, chocolate chips, or nuts for extra fun.
How far in advance can you prepare the dirt and worms dessert?
You can make the dirt cups up to 24 hours ahead. Store them in the fridge, covered. Add gummy worms just before serving.
What are the nutritional considerations for the dirt and worms dessert?
Each serving has about 383-433 calories, 9-19g fat, 62-70g carbs, and 6-8g protein. It’s high in sugar, so eat it in moderation. Use sugar-free pudding or low-fat milk for a healthier version.
How can you adapt the dirt and worms recipe for different occasions?
Change it up for different times by using different pudding flavors and cookie crumbs. Try orange pudding and black crumbs for Halloween, or add candy corn for fall.
What are some common mistakes to avoid when making the dirt and worms dessert?
Don’t crush cookies too much, or they’ll be too fine. Add gummy worms just before serving to keep them from getting soggy. Make sure pudding is set before adding toppings. Don’t overfill containers to leave room for decorations.


