Did you know cake pops have a 4.89 out of 5-star rating from 201 reviews? This shows how much people love these treats. If you want to make homemade cake pops, get ready for a fun adventure.

Cake pops are more than just a snack; they’re a hit with everyone. Kids and adults alike love them. This easy guide will show you how to make these tasty treats at home.
Our recipe makes about 40 cake pops, great for parties or sharing. It takes about 2 hours to prepare, with 36 minutes of cooking. You can freeze them for up to 6 weeks, so you can enjoy them later.
Table of Contents
Key Takeaways
- Cake pops have a 4.89 out of 5-star rating from 201 votes
- The recipe yields approximately 40 cake pops
- Total prep time is 2 hours, with 36 minutes of cooking
- Cake pops can be frozen for up to 6 weeks
- Each serving contains 137 calories
- Undipped cake balls can be refrigerated for up to 2 days
- Dipped and decorated cake pops last up to a week in the fridge
Introduction to Cake Pops
Cake pops have become a big hit in the world of sweets. They are small cake balls on sticks, perfect for parties and treats. They offer a fun twist on traditional desserts.
What Are Cake Pops
Cake pops are small balls made from crumbled cake and frosting. They are mounted on lollipop sticks and covered in chocolate or candy melts. You can make them for any event, making them very versatile.

History of Cake Pops
The idea of cake pops started in the early 2000s. It was a way to use up leftover cake. Bakers found that mixing cake crumbs with frosting made a great texture for balls.
Why Cake Pops Are Popular
Cake pops are loved for many reasons:
- They are easy to eat without utensils
- They have the right size, about 2-3 bites
- You can make them in many flavors and designs
- They look great on dessert tables
| Cake Amount | Yield | Frosting Needed | Candy Melts Required |
|---|---|---|---|
| Full cake (box mix) | 36 cake pops | 3/4 cup buttercream | 2 cups minimum |
| 8-inch round cake | 18 cake pops | 1/3 cup buttercream | 1 cup minimum |
| 12 cupcakes | 18 cake pops | 1/3 cup buttercream | 1 cup minimum |
Cake pops are a favorite at parties and special events. They are fun and mess-free, loved by both kids and adults. Their cute look and many flavors make them a must-have for any celebration.
Essential Ingredients and Equipment
Making perfect cake pops needs the right ingredients and tools. Let’s look at what you’ll need to make these tasty treats at home.
Basic Cake Pop Ingredients
You’ll start with a box of cake mix. Vanilla or white mix is best for cake pops. You’ll also need frosting, about 3/4 cup for one box of cake mix. Use gel food coloring for coloring to keep the frosting right.
Required Tools and Supplies
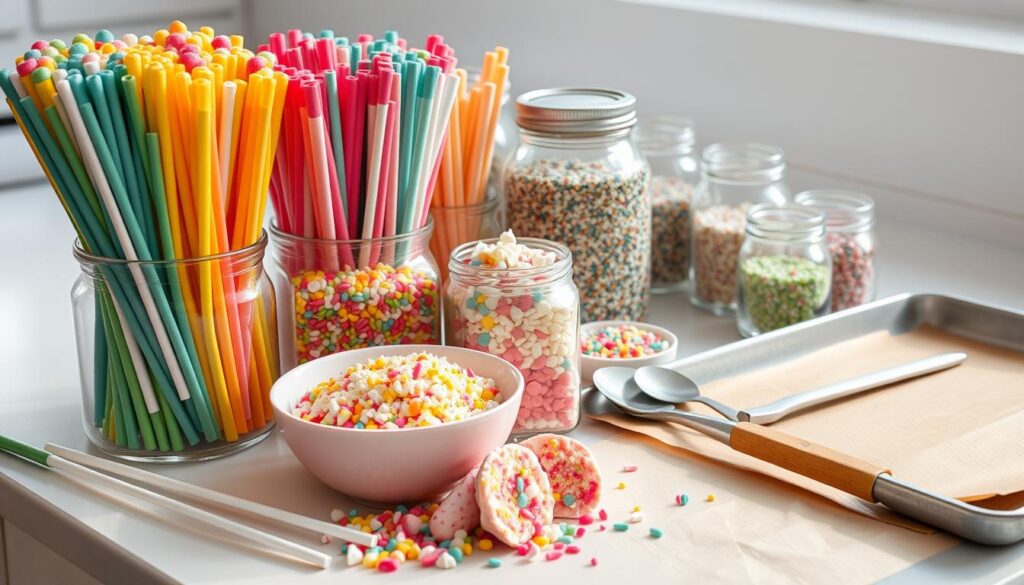
Here are the essential tools for cake pops:
- Cake pop sticks
- A cake pop stand or Styrofoam block
- A 1-inch cookie scoop
- A stand mixer with paddle attachment
- Microwave-safe containers
Types of Coating Options
Candy melts are a top choice for coating. They’re easy to use and set fast. You’ll need 10 to 20 ounces, depending on how thick you want the coating. White chocolate is another option, tinted with gel food coloring. Add a bit of shortening to thin the coating for dipping.
| Ingredient | Quantity | Notes |
|---|---|---|
| Cake Mix | 1 box | Vanilla or white recommended |
| Frosting | 3/4 cup | Adjust as needed |
| Candy Melts | 10-20 oz | For coating |
| Cake Pop Sticks | 40 | For standard recipe yield |
With these ingredients and tools, you’re set to make your own cake pops. They’ll be even better than the ones you buy!
Preparing the Perfect Cake Base
The foundation of delicious cake pops starts with a perfect cake base. You can choose between a homemade cake or a convenient cake mix. A vanilla cake recipe offers a versatile flavor that pairs well with various coatings and decorations.
For homemade enthusiasts, bake your favorite vanilla cake in a 9-inch springform pan. If you’re short on time, a boxed cake mix works just as well. Ensure the cake is baked thoroughly and cooled completely before moving to the next step.
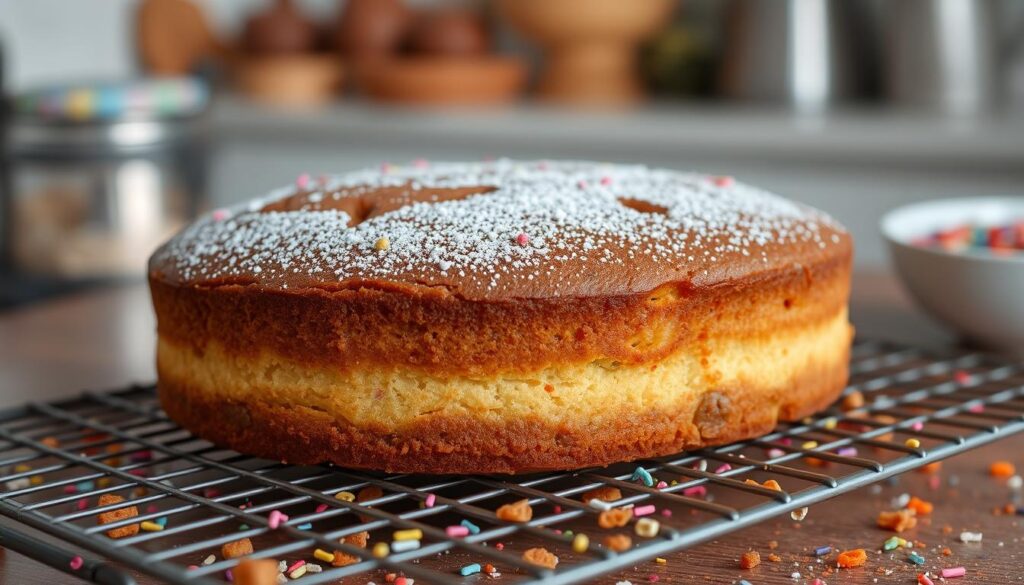
Pro tip: Prepare your cake a day in advance. This allows the flavors to develop and makes the crumbling process easier. Store the cooled cake in an airtight container at room temperature overnight.
| Cake Base Option | Prep Time | Baking Time | Cooling Time |
|---|---|---|---|
| Homemade Vanilla Cake | 20 minutes | 30-35 minutes | 2 hours |
| Boxed Cake Mix | 5 minutes | 25-30 minutes | 1.5 hours |
Remember, the key to perfect cake pops lies in the consistency of your cake base. Whether you opt for a homemade cake or a cake mix, ensure it’s moist but not overly dense. This balance will make shaping your cake pops easier and result in a delightful texture when bitten into.
Making the Best Cake Pops Recipe
Cake pop making is a mix of baking and creativity. This recipe, from 2018, has a 4.8 out of 5 star rating. Let’s explore how to make these tasty treats.
Crumbling the Cake
Begin with a cooled 9-inch cake. Crush it into fine crumbs by hand or with a food processor. For chocolate cake pops, mix 1 cup flour, 1 cup sugar, and 6 tablespoons cocoa powder. It’s important to get a uniform texture.
Mixing with Frosting
Blend the crumbs with frosting. For chocolate frosting, combine 6 tablespoons butter, 3/4 cup confectioners’ sugar, and 1/2 cup cocoa powder. Add about 1/2 cup frosting to moisten the crumbs.
Shaping the Balls
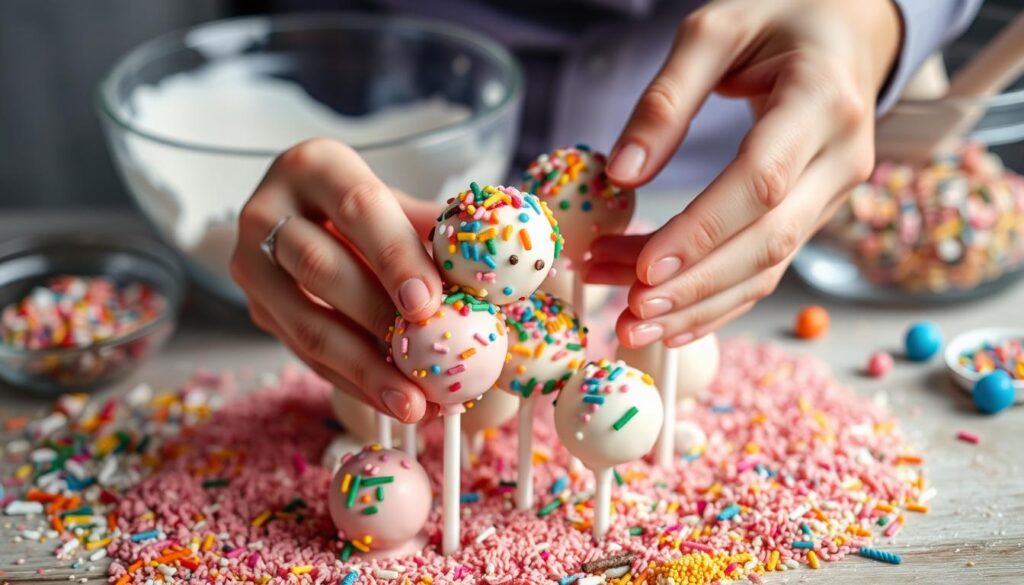
Roll the mix into 1-tablespoon balls. Use a mini ice cream scoop for even sizes. This recipe makes about 40 cake pops. Chill them for 2 hours in the fridge or 1 hour in the freezer. If needed, reshape for a smooth finish.
Adding the Sticks
Melt 24 ounces of candy melts or chocolate. Dip the end of cake pop sticks in the melted coating before inserting them into the chilled balls. This helps the sticks stay in place during the final dipping.
| Ingredient | Quantity | Purpose |
|---|---|---|
| Cake mix | 15.25 oz box | Base for cake pops |
| Frosting | 1/2 cup | Binds cake crumbs |
| Candy melts | 12 oz | Coating for cake pops |
Coating Techniques and Tips
Learning to coat cake pops can make your treats even better. The right methods give a smooth, crack-free finish. This is as beautiful as it is delicious. Let’s explore the basics of melting chocolate, dipping cake pops, and getting your coating just right.
Melting Chocolate Properly
Start with 8 ounces of top-quality chocolate or candy melts for the best coating. Melt them in short 30-second bursts in the microwave, stirring each time. This avoids overheating and keeps the chocolate smooth. Candy coating melts at a higher temperature than tempered chocolate.
Dipping Methods
For dipping, use a deep, narrow cup with about 3 inches of melted coating. This makes it easy to fully submerge the cake ball. Dip each pop carefully to cover it completely. For a pro look, tap your wrist to remove extra coating. Let the pops dry in a Styrofoam block for 10 to 30 minutes.
Preventing Cracks and Falls
To stop cracks, let the coating cool a bit before dipping. Keep your cake balls cold but not frozen to avoid temperature shock. If your coating is too thick, add paramount crystals or dipping aid chips for a smoother finish. The secret to perfect cake pops is keeping the right temperature balance.
| Coating Type | Melting Point | Drying Time |
|---|---|---|
| Candy Coating | Higher | 10-30 minutes |
| Tempered Chocolate | Lower | 15-45 minutes |
Decorating Your Cake Pops
Cake pop decorating lets your creativity flow. After dipping your pops in melted candy coating, it’s time to add sprinkles and designs. Work fast, as the coating dries quickly.
For a simple look, roll your pops in colorful sprinkles. For something more, drizzle contrasting colors over the base layer. This creates stunning patterns and depth.
Theme your cake pops for holidays or special events. Use orange and black for Halloween, or red and green for Christmas. You can also pipe designs with royal icing for more detail.
| Decoration Type | Application Method | Drying Time |
|---|---|---|
| Sprinkles | Roll or sprinkle immediately after dipping | 10-15 minutes |
| Drizzled coating | Use a spoon or piping bag to drizzle | 20-30 minutes |
| Royal icing designs | Pipe onto set coating | 1-2 hours |
Practice makes perfect. Don’t be afraid to try new designs. With time, you’ll find your unique style and create treats that look and taste amazing.
Storage and Shelf Life
It’s important to know how to store cake pops to keep them fresh. The shelf life of cake pops depends on how you store them.
Room Temperature Storage
At room temperature, cake pops can last about a week. Keep them in a cool, dry spot away from sunlight. Homemade cake pops stay good for 3-4 days. Store-bought ones can last up to 2 weeks.
Refrigeration Guidelines
Refrigeration helps cake pops last longer. They can stay fresh for about 2 weeks in the fridge. This is great for keeping cake pops made with ingredients that spoil quickly.
Freezing Instructions
Freezing is the best way to store cake pops for a long time. They can stay good for up to 3 months in the freezer. To freeze, put them in an airtight container with wax paper between layers to stop sticking.
| Storage Method | Shelf Life |
|---|---|
| Room Temperature | 1 week |
| Refrigerated | 2 weeks |
| Frozen | 3 months |
When storing cake pops, don’t use airtight containers to avoid moisture. You can make them up to 2 months before and freeze them. Remember to thaw frozen cake pops in the fridge before eating for the best taste and texture.
Troubleshooting Common Issues
Cake pop troubleshooting can be tricky, but with a few tips, you’ll be making perfect treats in no time. Let’s dive into some common cake pop problems and their solutions.
Fixing Cracked Coating
Cracked coatings often result from temperature differences. To avoid this, let your cake balls come to room temperature before dipping. If you’re using candy melts, make sure they’re not too hot when you dip. A balanced temperature between the cake and coating is key.
Preventing Falls and Breaks
If your cake pops keep falling off the stick, a few factors could be at play:
- Insufficient chilling time before dipping
- Coating that’s too thick
- Cake balls that are too heavy
To prevent falls, chill your cake balls thoroughly and use a moderate amount of frosting in your mixture. When dipping, let excess coating drip off to avoid weighing down your pop.
Consistency Problems
Achieving the right consistency can be challenging. Here’s a quick guide to common issues:
| Problem | Cause | Solution |
|---|---|---|
| Not smooth | Overbaking or improper mixing | Trim cake edges, mix thoroughly |
| Too soft | Excess frosting | Add more cake crumbs |
| Too dry | Insufficient frosting | Add more frosting gradually |
| Clumpy coating | Overheated or scorched coating | Use CandiQuik or add shortening |
Remember, practice makes perfect. Don’t get discouraged if your first attempts aren’t flawless. With these cake pop troubleshooting tips, you’ll be creating picture-perfect treats in no time!
Creative Variations and Flavors
Cake pops are a blank canvas for creativity. You can try many flavors to match any taste or event. From chocolate to fruity, the choices are endless.
Here are some fun flavor ideas:
- Chocolate-covered cheesecake
- Cinnamon roll
- Maple bacon
- Mint chocolate chip
- Peanut butter Oreo
For themed pops, think about the season. Make spooky Halloween ghosts or festive Christmas pops. For Valentine’s Day, try pink and red Oreo pops. Baby shower pops in blue or pink are adorable.
Decorate with candy melts, sprinkles, or coconut flakes. Check out different cake pop ideas to spark your creativity. You can change flavors by using different cake mixes or candy melts.
For a fast, no-bake option, mix crushed cookies with cream cheese. These are great for sudden parties or when you’re in a hurry. With so many flavors, you’ll always have new ideas!
Conclusion
Making homemade cake pops is a fun journey that mixes baking with creativity. With the right stuff, you can make these tasty treats for any event. Remember, getting better at making cake pops takes practice.
Every step, from mixing the cake to decorating with candy melts, needs care. You’ll need 210g of margarine, 220g of sugar, and 250g of flour for the cake. For the buttercream, use 500g of icing sugar and 250g of butter. And don’t forget to chill your cake balls in the freezer for 20 minutes before dipping.
You might hit bumps like cracked coatings or pops that fall. But don’t give up. With patience and persistence, you’ll get the hang of it. Your cake pops, whether with white or gold candy melts, will wow everyone.
So, get your cake pop sticks ready, melt the chocolates, and show off your skills. Soon, you’ll be a pro at making cake pops, ready for any design or flavor you want.
F.A.Q
What are cake pops?
Cake pops are small balls of cake mixed with frosting. They’re on lollipop sticks and covered in chocolate or candy melts. They’re great for parties because they’re easy to eat and control the size.
How do you make cake pops from scratch?
Making cake pops starts with baking a cake. Then, crumble it and mix it with frosting. Shape into balls, chill, and insert sticks. Finally, dip in melted chocolate and decorate.
What ingredients do I need for cake pops?
You’ll need cake, frosting, and candy melts or chocolate for coating. Don’t forget lollipop sticks. Tools like a cake pop former or small cookie scoop and a styrofoam block for drying are also needed.
How long do cake pops last?
Cake pops can stay at room temperature for a week. If not dipped, they can be refrigerated for 3 days or frozen for 6 weeks. Always thaw frozen cake pops in the fridge before eating.
How do you prevent cake pops from cracking?
To avoid cracking, let the chocolate cool a bit before dipping. Make sure the stick is in right and the chocolate is the right temperature. Keep the cake balls cold during dipping.
Can I make cake pops without baking?
Yes, you can make no-bake cake pops. Use crushed cookies and cream cheese instead of baked cake. This is a quick way to make cake pops.
How do you decorate cake pops?
Decorate cake pops by adding sprinkles or decorations while the chocolate is wet. Use different colors of candy melts for themed decorations. Drizzle contrasting colors for a professional look.
What types of cake flavors work best for cake pops?
Try different cake flavors like vanilla, chocolate, red velvet, or lemon. Mix frosting flavors to match the cake. Use seasonal flavors for holidays or special events.
How do you thin out chocolate coating for cake pops?
Thin out chocolate by adding shortening or dipping aid chips. This makes dipping easier and gives a smooth coating.
Can I make cake pops ahead of time for a party?
Yes, you can make cake pops ahead. Bake the cake a day early and finish the pops the next day. You can also store undipped balls in the fridge or freezer until ready to coat and decorate.

