As the sun sets, shadows grow in your kitchen. The air is crisp, filled with Halloween’s promise. Your kids’ faces light up as they gather around the table for Halloween treats. It’s not just about candy; it’s making memories together.
Imagine the laughter and shrieks as *Spooky Spider Cookies* come to life. These treats are more than just desserts. They’re a fun activity that brings everyone closer. With simple ingredients like peanut butter and brown sugar, you can create masterpieces your family will love.
Whether it’s making spider legs from chocolate or sharing them with friends, these cookies are a highlight of Halloween. They add flavor and fun to your celebrations!
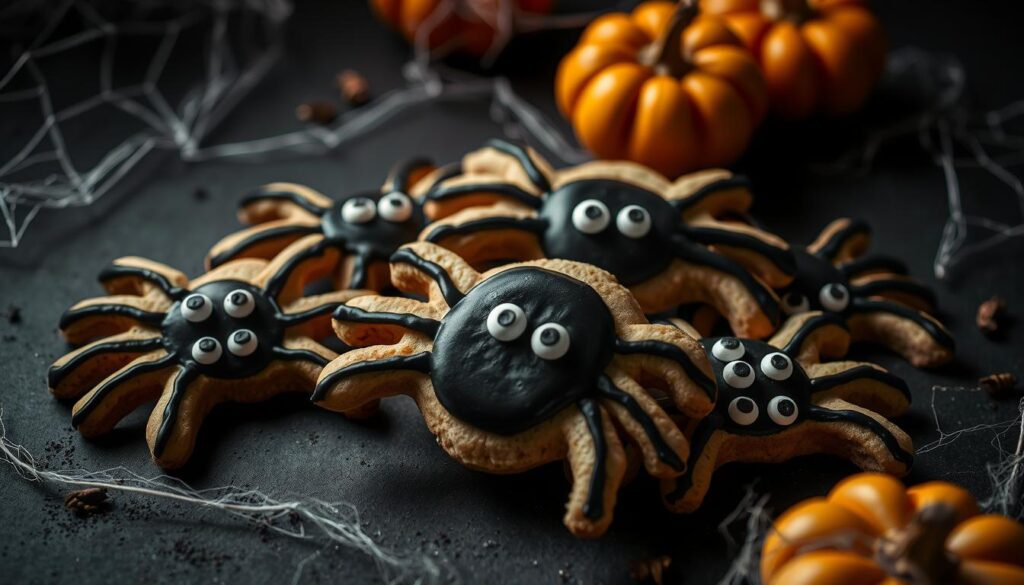
Table of Contents
Key Takeaways
- Engaging the family in baking fosters memories and togetherness.
- Spooky Spider Cookies are easy to make with simple ingredients.
- These cookies are an exciting way to celebrate Halloween.
- Creative decoration makes them visually appealing for kids.
- Everyone will enjoy both baking and devouring these delightful treats.
Introduction to Spooky Spider Cookies
Spooky Spider Cookies are a fun twist on classic Halloween treats. They mix the taste of peanut butter cookies with creative decorations. This makes them great for school bake sales, Halloween parties, or family gatherings.
These cookies let you show off your artistic side. You can impress everyone with your spooky cookie ideas.
To make these cookies, you need simple ingredients. You can make about 20 cookies in over half an hour. You’ll need peanut butter cookie mix, mini Reese’s cups, and edible eyes for decoration.
Adding chocolate legs with chocolate chips gives them a special touch. Kids will love this unique feature.
Bake the cookies at 350 degrees Fahrenheit for 10-12 minutes. The smell of baking will make everyone excited for Halloween. These cookies are not just tasty; they’re also a visual treat.
They can be stored in an airtight container for up to 5 days. Or, you can freeze them for up to 6 months. This makes them a great choice for planning ahead.
Get creative in the kitchen this Halloween with Spooky Spider Cookies. They’re more than just desserts. They’re a fun way to bring people together with delicious Halloween party food.
Perfect Halloween Treats for Kids and Adults
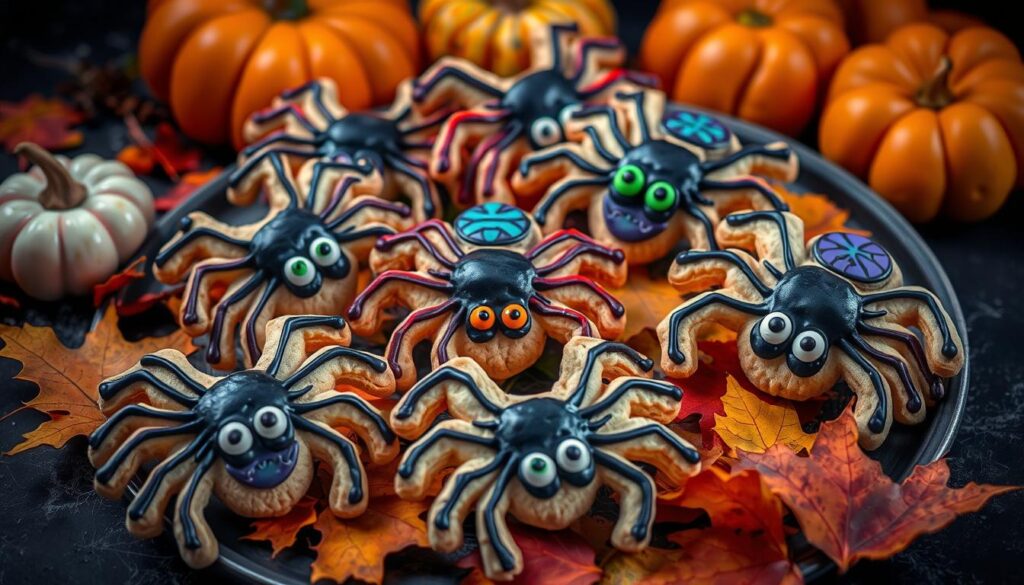
Spooky Spider Cookies are a hit at Halloween parties for both kids and adults. They’re easy to make with just four ingredients. You can use your favorite cookies, peanut butter mini cups, melted chocolate, and candy eyes.
These cookies have a fun design with eight legs and googly eyes. They’re not only tasty but also look great. This makes them perfect for any Halloween celebration.
Getting kids involved in baking is a great way to have fun together. Spider cookies let you get creative with toppings like candy, Nutella, or sprinkles. You can also use green, red, or black gel icing for a spooky look.
These cookies are easy to make, even for beginners. Making spider cookies can become a special Halloween tradition. You can even add marshmallow fangs or red icing for a bloody effect.
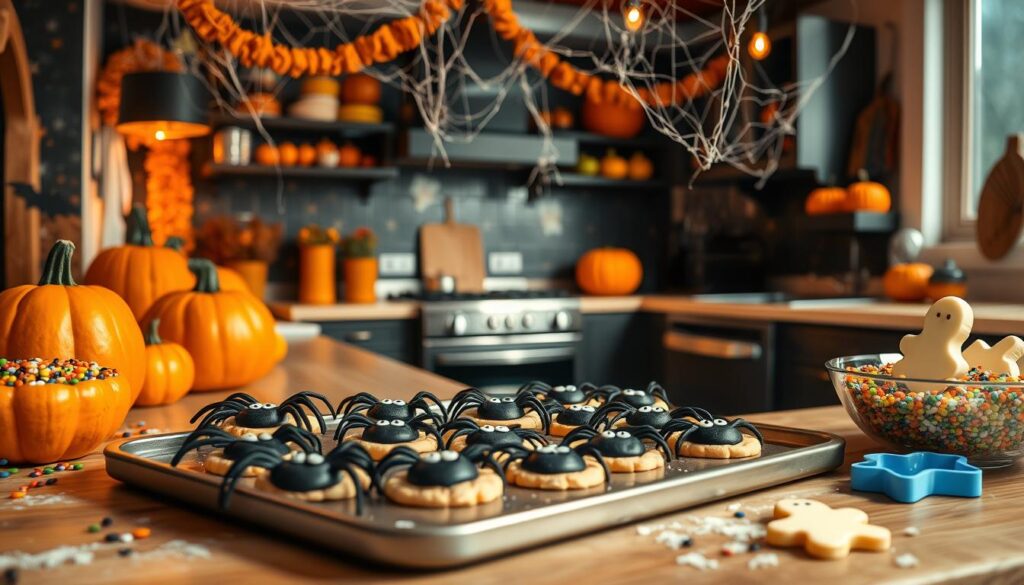
Spider cookies are perfect for Halloween parties or a fun snack at home. Their unique looks and tastes make them a hit. They create special moments in the kitchen and at parties.
Ingredients for Spooky Spider Cookies
To make spooky spider cookies, you need a mix of tasty ingredients. These are easy to find for your Halloween baking. This recipe is not just delicious but also lets you get creative with Halloween desserts.
Key Ingredients List
| Ingredient | Quantity |
|---|---|
| Unsalted butter | 1 stick (1/2 cup), at room temperature |
| Dark brown sugar | 1/2 cup |
| Maple syrup | 1/4 cup |
| Creamy peanut butter | 1/2 cup |
| Egg | 1 |
| Vanilla extract | 1 tablespoon |
| All-purpose flour | 1 1/2 cups |
| Baking soda | 1 teaspoon |
| Kosher salt | 1/2 teaspoon |
| Mini Reese’s (for spider bodies) | 15 |
| Chocolate milk duds (for decoration) | 15 |
| Milk chocolate chips (melted) | 1 cup |
| Mini candy eyes | As needed for decoration |
Substitutions and Variations
Make these spooky spider cookies your own by using different ingredients. If someone has a peanut allergy, almond butter is a good swap. For gluten-free options, use gluten-free flour. You can also decorate with various candies to make your cookies unique.
Keep the dough in the fridge for fresh cookies anytime. Chilling the dough and using high-quality ingredients like European-style butter improves taste. Following the baking tips will help you get the best results.
Step-by-Step Instructions to Make Spider Cookies
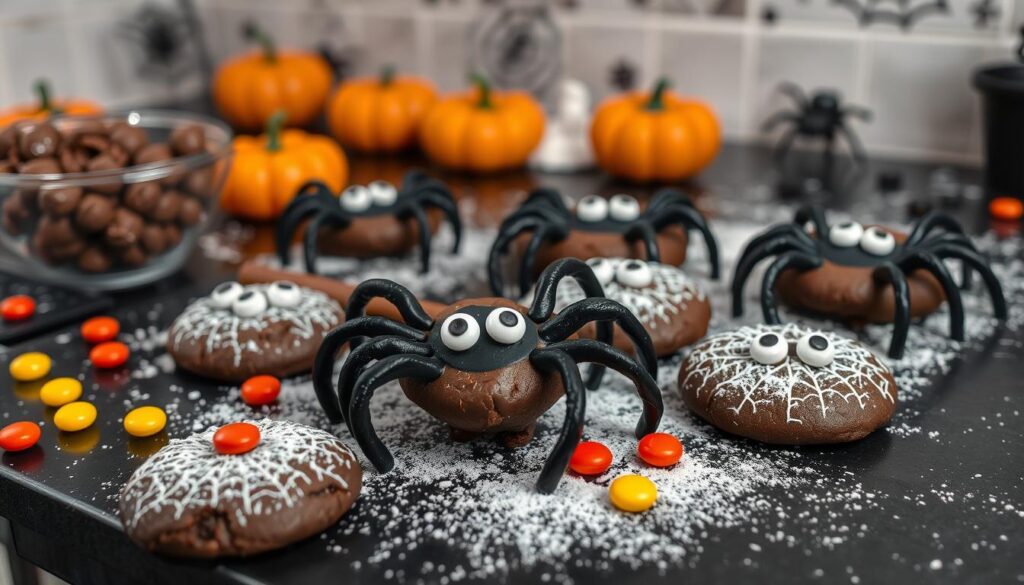
Making spider cookies is a fun experience. It’s especially great when you follow these steps. You’ll impress everyone with a spooky treat perfect for Halloween. Here’s how to make these delightful cookies.
Preparing the Peanut Butter Cookie Dough
First, get your ingredients ready: peanut butter, sugar, shortening, and vanilla. Mix the shortening, peanut butter, and sugars until it’s fluffy. This step is key for even baking.
Then, add the egg, milk, and vanilla. Make sure the dough is smooth. This tip helps make your cookies look like spiderwebs.
Baking the Cookies to Perfection
Heat your oven to 350°F (175°C). Make balls of dough and roll them in sugar for crunch. Bake for 15 to 17 minutes.
Make a dent in each cookie. This spot will hold your chocolate spider decorations. These steps ensure your cookies taste great and look amazing.
Creating the Spider Decorations
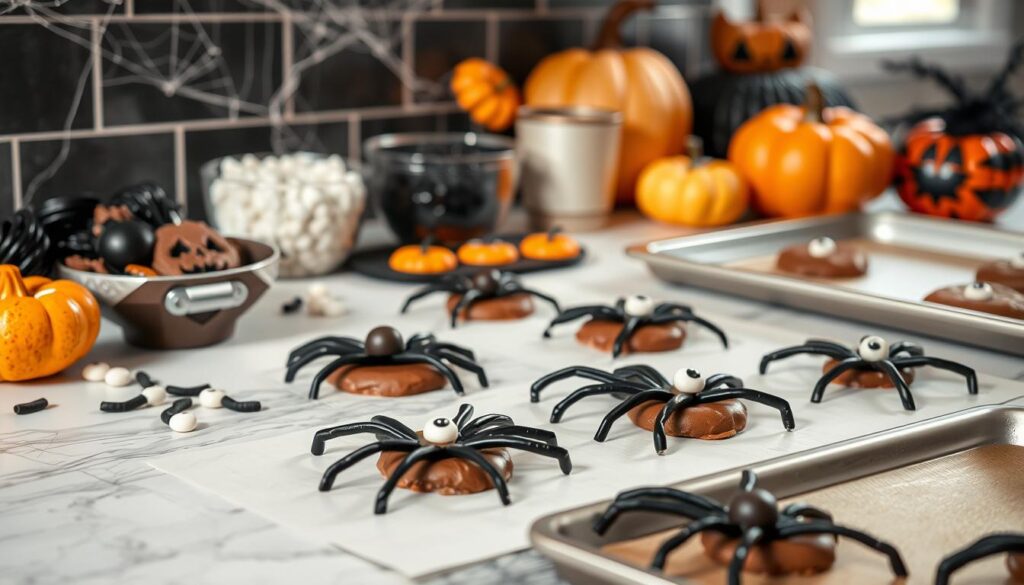
After cooling, decorate your cookies. Use chocolate frosting and candy eyeballs. Pipe chocolate legs from pretzel sticks and add candy eyeballs.
This fun step brings your cookies to life. You can also add candy fangs for more spookiness.
| Ingredient | Role |
|---|---|
| Peanut Butter | Main flavor and binding agent |
| Sugar | Sweetness and texture |
| Shortening | For creaminess and moisture |
| Vanilla | Enhances flavor profile |
Follow these steps to make amazing spider cookies. Enjoy making them and see the joy on people’s faces!
How to Assemble Your Spooky Spider Cookies
Assembling your spooky spider cookies is fun. It turns simple treats into amazing DIY Halloween treats. Follow these steps to make spider designs that will make your Halloween celebrations even better.
First, get your work area ready. Make sure you have all the ingredients, including:
- Chocolate (dark and semi-sweet)
- Coconut oil
- Coconut sugar
- Almond flour
- Marshmallows
- Vanilla frosting (1 can)
- Malted milk balls (1 per cookie)
- Melted milk chocolate chips (¼ cup)
- Whoppers candies (1 per cookie)
Start by melting 1 cup of marshmallows in the microwave. Heat in short bursts, stirring until smooth and gooey.
Spread the melted marshmallows over the cooled cookies to make spider webs. Let them set for at least 30 minutes for the best stickiness.
Place a malted milk ball in the center of each cookie for the spider’s body. Use melted milk chocolate to hold it in place.
To make the legs, melt more chocolate and pipe four legs on each spider. Each leg should reach from the body for a realistic look. Add colored sprinkles on the legs and body for a spooky touch.
Finally, add two candy eyes to each chocolate body. Freeze or refrigerate the cookies for a few minutes to set the chocolate. Your spooky spider cookies are now ready to wow your guests!
| Ingredient | Quantity |
|---|---|
| Chocolate (dark and semi-sweet) | ¼ cup melted for decorating |
| Coconut oil | As needed for melting chocolate |
| Marshmallows | 1 cup |
| Malted milk balls | 10-12 for spider bodies |
| Whoppers candies | 10-12 for spiders’ heads |
| Piping chocolate (melted) | As needed for legs |
Tips for Making Easy Halloween Recipes
Making spooky spider cookies is more than just baking. You need to store and present them right to keep them tasty and appealing. Here are some cookie storage tips to keep your treats fresh and fun all Halloween season.
Storage Instructions for Freshness
To keep your Halloween treats fresh, store them in an airtight container. This helps them stay moist and flavorful. Here are some tips:
- Room Temperature: Store cookies in an airtight container at room temperature for up to one week.
- Refrigeration: For longer storage, refrigerate the cookies. They can stay fresh for two weeks.
- Freezing: Freeze cookies for longer storage. Wrap each in plastic wrap and put them in a freezer-safe bag. Store for up to three months.
Displaying Your Creepy Halloween Desserts
The way you present your spooky desserts can make them the stars of your Halloween party. Here are some ideas for displaying Halloween treats:
- Use decorative platters that fit the Halloween theme, like spider webs or pumpkin designs.
- Add spooky props like fake spiders or cobwebs around the cookies for a striking display.
- Arrange cookies on multi-tiered stands for a dramatic effect, highlighting the treats.
By following these tips, your spooky spider cookies will not only taste great but also look amazing. A well-presented dessert can be the highlight of your Halloween party!
Fun Facts About Spiders and Halloween
Spiders have a special place in Halloween, drawing both fear and fascination. Many Halloween spider facts show their role as both creepy and key to the holiday’s spooky feel. Spiders have long been symbols of mystery and the unknown. Their sometimes scary look makes them a perfect fit for Halloween.
Spiders and Halloween are more than just looks. In many cultures, they stand for creativity and patience, as seen in their webs. Enjoying your Spider Cookies can spark interesting talks about spider webs’ beauty and the creativity they inspire.
Here are some interesting points to think about:
- Rarity: Spider cookies are rare, adding a special touch to your Halloween.
- Creepy and Cute: These cookies mix eeriness with charm, pleasing both kids and adults.
- Decorating Techniques: New methods like fondant and edible paper let you get creative with designs.
- Book Inspiration: “Cookie Creatures” by Autumn Carpenter offers more ideas for your baking.
As you make your spooky Spider Cookies, keep these spooky holiday trivia facts in mind. Let spiders’ creativity inspire you, turning your baking into a delightful art form for your guests. Here’s a quick look at some spider trivia:
| Fact | Details |
|---|---|
| Folklore Significance | Spiders are often seen as protectors of homes in various cultures. |
| Halloween’s Popular Emblem | Spiders exemplify the spooky, mysterious vibe of the season. |
| Creative Cooking | Decorative methods using royal icing enhance the overall look of spider cookies. |
| Cookie Occasion | Spider cookies often serve as a fun treat for Halloween parties and gatherings. |
Why Spooky Spider Cookies Are a Must-Try This Halloween
Spooky Spider Cookies are a hit for Halloween with their tasty flavor and cool look. They’re easy to make with just a few ingredients. In 15 minutes, you can whip up a batch that will make everyone smile.
These treats mix unsalted butter, peanut butter, and dark brown sugar for a yummy taste. You’ll get about 24 cookies, perfect for sharing or showing off at your Halloween party. Each cookie is chewy and full of chocolate, malted milk balls, and spider fun.
- Prep time: 5 minutes
- Cook time: 10 minutes
- Total time: 15 minutes
- Calories per serving: 302 kcal
- Carbohydrates: 35g
- Protein: 4g
- Fat: 17g
- Sugar: 24g
The cookies stand out because of their spooky theme. Using melted chocolate for spider legs and malted milk balls for the body adds a fun touch. They’re not just tasty but also great decorations for Halloween.
Keeping your Spooky Spider Cookies fresh is simple. They stay good for three days in a sealed container or up to three months in the freezer. This makes them great for making ahead of time, so you can enjoy the party more.
Your guests will love these spooky treats, making them a hit for Halloween. Enjoy the holiday with these delicious Spider Cookies and let the fun start.
Conclusion
As you finish your Halloween baking, Spooky Spider Cookies are a hit. They’re fun and tasty, with a quick prep time of 40 minutes. You can make 24 cookies to share with everyone.
The mix of chocolate chips and spider decorations is perfect. It satisfies your sweet tooth and adds to the festive vibe.
These cookies are more than treats; they’re an adventure. You can try classic recipes or fun twists like Peanut Butter Spider Cookies. Your kitchen becomes a place of joy and lasting memories.
This Halloween, get your loved ones involved in baking. Make spider-themed cookies for a delicious and memorable event. Let’s enjoy these spooky treats and celebrate the season.
F.A.Q
How can I make Spooky Spider Cookies gluten-free?
Use gluten-free flour blends instead of regular flour. Make sure all ingredients are gluten-free for your guests.
What can I use if I have a peanut allergy?
Try almond butter or sunflower seed butter as a peanut butter substitute. This keeps your Spooky Spider Cookies safe for those with allergies.
How should I store my Spooky Spider Cookies to maintain freshness?
Keep them in an airtight container at room temperature. They’ll stay fresh for up to a week. For longer storage, refrigerate them, but let them warm up before serving.
Can I prepare the cookie dough ahead of time?
Yes! Prepare the dough up to 24 hours in advance. Just let it sit at room temperature for 10 minutes before baking.
What kind of chocolate can I use for the spider decorations?
Use chocolate chips, melts, or frosting for your spider decorations. Dark or semi-sweet chocolate adds a delicious flavor.
How do I make the cookies look more spooky for Halloween?
Be creative with your decorations! Use colored frosting, candy eyeballs, and various candies. Arrange cookies on themed platters for a spooky look.
Are there any alternatives for the chocolate candy used in the cookie decorations?
Yes! Try gummy candies, licorice, or marshmallow toppings for different spider looks. Mix and match what you have.
Is this recipe suitable for a classroom Halloween party?
Absolutely! Spooky Spider Cookies are great for classroom parties. They’re fun, look good, and are easy to make. Just check for allergies first.


