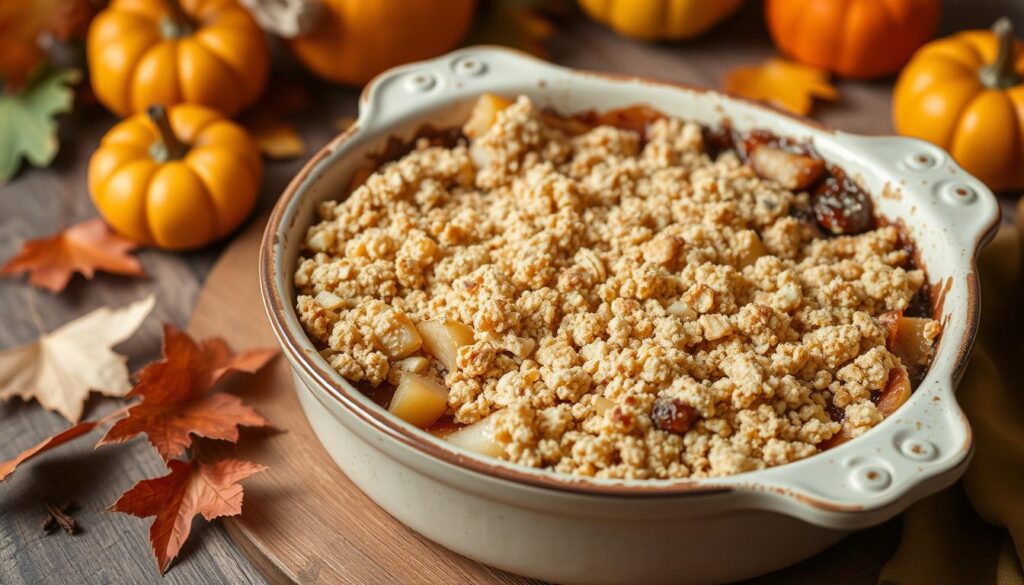
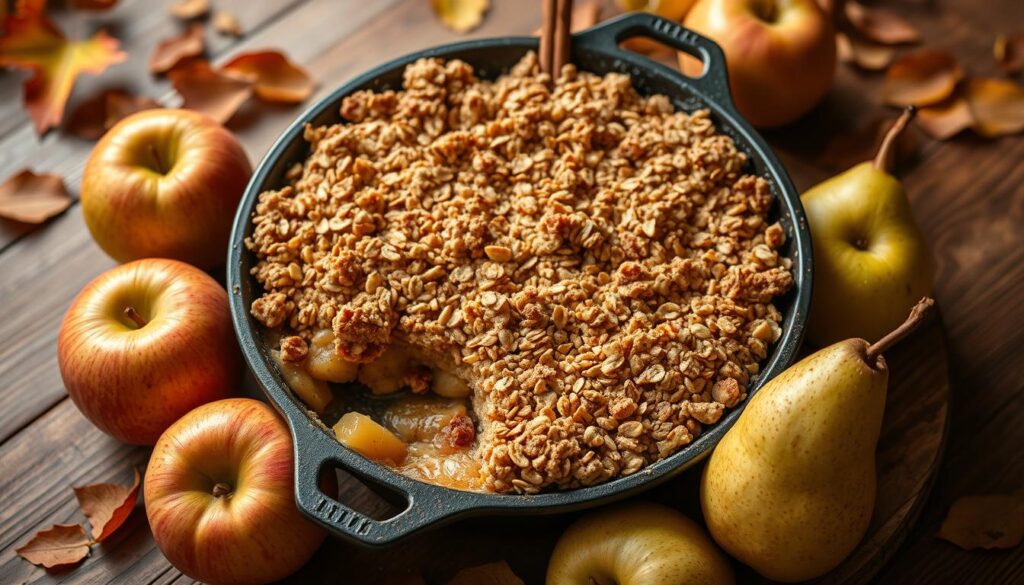
Ever wondered how a simple dessert can capture the essence of fall? The easy apple-pear crisp recipe turns everyday ingredients into a classic fall treat. It combines the crisp apples with sweet pears and a crunchy oatmeal topping. In over an hour, you’ll have a homemade apple pear crisp for 8-10 people, great for gatherings or cozy nights.
As leaves change color and the air gets crisp, this seasonal treat is perfect. Prep time is just 15 minutes, and it bakes to golden in 45 minutes. Imagine the amazing aroma filling your home as it bakes. Let’s explore how to make this delicious dessert that highlights the season’s fruits!

Table of Contents
Key Takeaways
- The apple-pear crisp yields 8-10 servings, ideal for sharing.
- Prep time is just 15 minutes, with a total baking time of 45 minutes.
- Utilize a mix of 4 medium/large ripe pears and 3 medium/large apples for the best flavor.
- Store leftovers for up to 5 days in the refrigerator or freeze for up to 3 months.
- Perfect serving temperature is best enjoyed warm from the oven.
Introduction to the Apple-Pear Crisp
The apple-pear crisp is a beloved fall dessert. It combines the sweetness of apples and pears. This mix creates a delightful taste and texture in every bite.
This recipe brings back memories of family times and cozy nights. The soft fruit and crunchy oat topping are irresistible. Your kitchen will fill with warm smells, inviting everyone to eat.

Preparing this dish takes just 15 minutes. It serves eight people, great for fall gatherings. Baking at 375°F for 35-40 minutes makes the topping golden brown. Enjoying this dessert brings joy to any season celebration.
Why You’ll Love This Easy Dessert Recipe
This apple-pear crisp is an easy dessert recipe for everyone. It combines the flavors of fall with a simple process. You can make this delicious dessert with just a few ingredients, perfect for both new and experienced bakers.
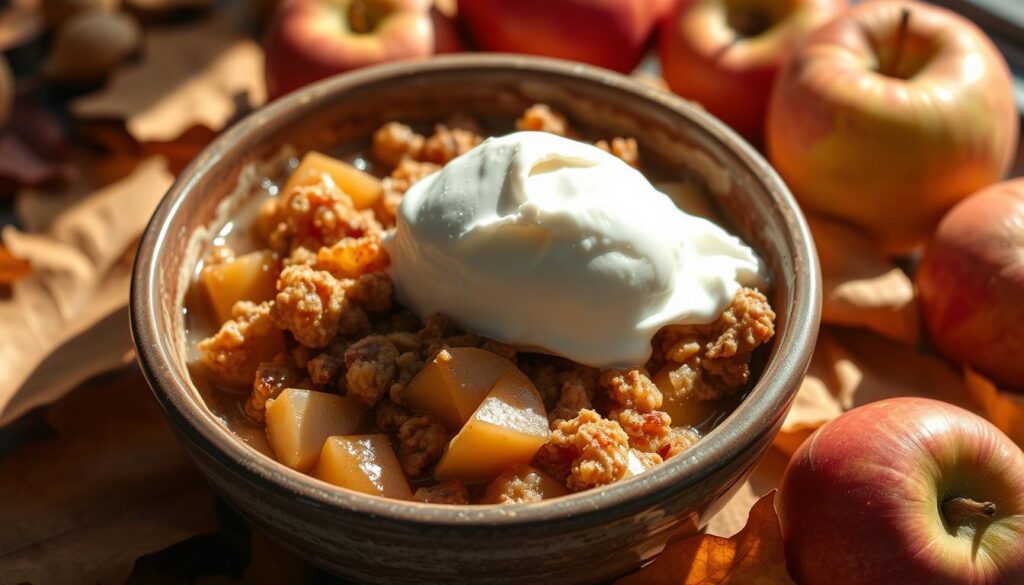
The mix of crisp apples and juicy pears with warm spices like cinnamon and nutmeg adds to the seasonal feel. Each bite offers a great mix of soft fruit and crunchy topping. Serving it warm with vanilla ice cream makes it even better.
This dessert is not just tasty but also easy to make. It’s great for family dinners or cozy nights at home. You can also try different toppings like caramel sauce or nuts for a unique twist.
For more sweet, seasonal ideas, check out this guide to homemade caramel apples. It shows how easy it is to make a dessert that feels like fall.

Perfectly Baked: The Art of Baking Apples and Pears
Choosing the right fruit is key to a great apple-pear crisp. The right selection boosts flavor and texture. It also ensures even cooking. Start by picking the best varieties for your crisp.
Choosing the Right Fruits for Your Crisp
For a tasty crisp, use Bartlett pears and Granny Smith apples. They are sweet and tart. Mixing these fruits gives a rich flavor. You can also try Anjou pears and Gala apples.
Choose fruits that are ripe. Here are some tips for choosing fruit for crisp:
- Look for fruits that are firm and free from bruises.
- Choose a mix of sweet and tart varieties for balance.
- Consider seasonal availability for optimal freshness.
Preparing Your Fruit for Baking
After picking your fruits, prepare them well for baking. Peel the fruits first. Then, slice them into 1/2 inch slices for even cooking. Add fresh cranberries for tartness, sugar, and spices.
Season with ground cinnamon and nutmeg to bring out sweetness. Mix light brown sugar and granulated sugar for flavor balance. Make sure to mix the fruits well so every bite is full of flavor.

Key Ingredients for Your Apple-Pear Crisp Recipe
To make a delicious homemade apple pear crisp, you need to know the key ingredients. These ingredients will make your dessert taste great and feel nice in your mouth. Fresh fruits add a lively flavor that makes this dessert special.
Main Ingredients You Will Need
- 3 medium apples
- 2 ripe pears
- 1 tablespoon cornstarch
- 3/4 cup granulated sugar
- 1 teaspoon ground cinnamon
- 1 cup rolled oats
- 1/2 cup brown sugar (preferably dark)
- 1/2 cup all-purpose flour
- 1/2 cup melted butter
Choosing top-quality, fresh ingredients will make your apple pear crisp even better. Apples and pears mix sweetness with tartness perfectly. The oats and sugars make a crunchy topping that goes well with the fruit.
Optional Ingredients for Extra Flavor
- 1 cup of fresh or frozen cranberries for a tart twist
- 1/2 cup chopped pecans or walnuts for added crunch
- A sprinkle of lemon juice to brighten the flavors
- 1-1/4 teaspoons of apple pie spice or homemade pumpkin pie spice for a warm aroma
Adding these optional ingredients can make your apple pear crisp even more special. Trying different fruits and spices lets you create a dessert that’s just right for you.

Step-by-Step Guide to Making Homemade Apple Pear Crisp
Making a homemade apple-pear crisp is fun and rewarding. This guide will help you make a perfect crisp every time. Follow these tips to make your crisp amazing and impress everyone.
Gather Your Tools and Ingredients
First, get all the tools and ingredients you need. You’ll require:
- 13×9″ baking dish or 11″ skillet
- Pastry cutter
- Mixing bowls
- Measuring cups and spoons
- Sharp knife and cutting board
- Spatula for mixing
For the filling, you’ll need 3 Bosc pears and 4 Pink Lady apples. Also, get your spices and sweeteners ready. The topping needs rolled oats, whole wheat flour, and chilled unsalted butter.
Preparing the Fruit Mixture
Preheat your oven to 350°F. Then, peel, core, and slice the apples and pears thinly. In a big bowl, mix the fruit with 2 teaspoons of cinnamon, 1/2 teaspoon of nutmeg, 3 tablespoons of raw honey, 1/2 teaspoon of salt, and 2 tablespoons of lemon juice. Make sure the fruits are well coated and set aside.
Making the Topping: Tips and Tricks
To make the crisp topping, mix 1 cup of regular oats, 1/2 cup of white whole wheat flour, 1/4 cup of brown sugar, 1 teaspoon of cinnamon, and 1/2 teaspoon of salt in a bowl. Add 6 tablespoons of chilled unsalted butter and mix until it looks like coarse crumbs. This topping is crucial for a great apple-pear crisp.
Spread the fruit mixture evenly in the baking dish. Then, sprinkle the topping over it. Bake for 35 to 40 minutes, or until the topping is golden and the fruit is bubbly.
Wait for the aroma of your homemade dessert to fill your kitchen. This recipe makes 6-8 servings. It’s simple and fun, making apple-pear crisp a great tradition for your kitchen.
Delicious Dessert Ideas: Serving and Pairing Options
Enjoying your homemade apple-pear crisp can be even better with the right serving options. This dessert is great with many things. Try it with vanilla ice cream or whipped cream for a classic taste. A drizzle of caramel sauce makes it even richer.
These ideas not only taste great but also look beautiful. They make your dessert special.
What to Serve with Your Fruit Crisp
Choosing the right things to go with your apple-pear crisp makes it unforgettable. Here are some ideas:
- Vanilla ice cream
- Whipped cream
- Greek yogurt with honey
- Sweetened coconut cream
- Chocolate or caramel sauce drizzle
These options add a nice contrast and richness. They make your fruit crisp a wonderful ending to any meal.
Creative Twists on a Classic Recipe
Make your apple-pear crisp even more fun with creative fruit crisp variations. Try adding different fruits like berries or peaches. Or mix in some citrus for a fresh twist.
Don’t forget to add nuts or oats to the topping for crunch. You can also spice things up with ginger or vanilla bean. This adds amazing aroma and flavor.
There are so many ways to make your crisp your own. You might find new ideas by looking at other recipes, like acorn candy cookies. They’re perfect for fall gatherings.
How to Store and Freeze Your Apple-Pear Crisp
Properly storing apple-pear crisp lets you enjoy it for a long time. With the right methods, you can keep it fresh in your kitchen or freezer. This way, you can have a sweet treat whenever you want.
Knowing how to store it well can make your dessert last longer. It keeps the crisp’s texture and flavor just right.
Best Storage Practices
Here are some tips to keep your apple-pear crisp fresh:
- Refrigeration: Store it in an airtight container. This keeps it fresh for up to 4 days, stopping moisture loss.
- Room Temperature: If you’ll eat it in two days, it can sit at room temperature. Just make sure it’s covered to stay crispy.
- Freezing: For longer storage, freeze it. When done right, apple-pear crisp can last up to 3 months in the freezer without losing taste or texture.
Freezing for Later: Step-by-Step Instructions
Freezing dessert is easy and straightforward. Here’s how to do it right:
- Cool Down: Let the crisp cool completely before freezing. This stops condensation that can make the topping soggy.
- Wrap it Up: Use aluminum foil or plastic wrap to tightly cover the cooled crisp. Or, put it in an airtight freezer-safe container.
- Label and Date: Always label your container with what’s inside and the date. This makes it easy to remember when to use it.
- Thawing: When you’re ready, thaw the frozen crisp in the fridge overnight. Then, reheat it in the oven at 350°F for 15-20 minutes to make it fresh and crispy again.
By following these tips for storing and freezing apple-pear crisp, you can keep it a favorite. Enjoy homemade apple-pear crisp any time of year!
The Benefits of a Seasonal Dessert
Choosing a seasonal dessert can make baking more fun. It lets you enjoy the best flavors and health benefits. Using ingredients in season boosts taste and health. For example, using apples and pears in a crisp adds freshness and nutrition to your meals.
Utilizing Fresh Ingredients in Your Baking
Make sure fresh ingredients are the main focus in your desserts. Baking with fresh fruits cuts down sugar and keeps flavors strong. The nutrients in apple and pear skins make your desserts healthier. Here are some benefits of using fresh ingredients:
- Improved flavor quality
- Higher nutrient retention
- Less reliance on artificial preservatives
- Support for local farmers and sustainable practices
Healthy Dessert Options: Making It Guilt-Free
Creating healthy desserts doesn’t mean they have to taste bad. Using sweet fruits like honey crisp apples and Bartlett pears makes desserts tasty and guilt-free. You can also use gluten-free flour or dairy-free butter to meet dietary needs without losing flavor. Here are some common swaps:
| Traditional Ingredient | Healthy Alternative |
|---|---|
| All-purpose flour | Almond flour or oat flour |
| Dairy butter | Coconut oil or olive oil |
| Granulated sugar | Maple syrup or honey |
| Corn starch | Arrowroot powder or tapioca flour |
Choosing seasonal desserts is good for your health and enjoyment. By picking fresh, seasonal ingredients and smart substitutions, you can enjoy desserts without guilt. You’ll love the delicious flavors.
Tips for Perfecting Your Crisp Every Time
Making a stunning apple-pear crisp can feel like an art form. But with the right tips, you can conquer it every time. The most common mistake is overbaking. Keep an eye on your dessert during the last few minutes.
The crisp should be golden brown. For the filling, mix sugar, flour, and lemon juice well with the fruit. This will enhance flavors and prevent dryness.
Avoiding Common Mistakes
When preparing your crisp, don’t overlook the fruit preparation. Use ripe yet firm Bosc pears alongside Fuji, Macoun, or Granny Smith apples. This will give the best texture.
Be sure to toss your fruit with spices like cinnamon and nutmeg. Sprinkling them only on top won’t do the trick. This creates a beautifully incorporated taste profile that elevates your dessert.
Enhancing Flavor with Spices
To truly enhance flavors, consider adding a blend of spices and zest. A pinch of cardamom or toasted pecans can bring depth to your recipe. Don’t hesitate to get creative with the fruit filling.
Substitute in peaches or raspberries for a unique twist. For an interesting finishing touch, serve your warm crisp with a dollop of ice cream. This contrasts its crispness with creamy richness. For an extra treat, explore diverse toppings, such as homemade pumpkin butter, which you can learn about here.
F.A.Q
What makes this apple-pear crisp recipe an easy dessert option?
This apple-pear crisp recipe is simple and quick to make. You just need to mix fresh ingredients together. It’s great for when you’re short on time or need a dessert fast.
How do I choose the best apples and pears for my crisp?
Choose Granny Smith apples for their tartness and Bartlett pears for their sweetness. This mix makes your crisp taste amazing. Pick ripe, firm fruits that are in season for the best flavor.
Can I use other fruits in my apple-pear crisp?
Yes, you can! Try using peaches, berries, or a mix of your favorite fruits. This lets you make the recipe your own, adding a unique twist to a classic dessert.
How can I enhance the flavor of my apple-pear crisp?
Add spices like cinnamon and nutmeg to the fruit for extra sweetness. Chopped nuts or a squeeze of lemon juice can also boost the flavors of your dessert.
What are the best practices for storing leftover apple-pear crisp?
Keep your crisp in an airtight container in the fridge for up to five days. To freeze, wrap it tightly in plastic wrap or use a freezer-safe container. This way, you can enjoy it later.
Can I reduce sugar in this apple-pear crisp recipe?
Yes, you can use less sugar by picking sweeter fruits and choosing lower sugar options. Maple syrup or honey are good alternatives. They let you enjoy a healthier dessert without losing flavor.
How do I serve my apple-pear crisp for a special occasion?
Serve your crisp warm with vanilla ice cream or whipped cream, and a drizzle of caramel sauce. This adds a luxurious touch to your dessert. It’s perfect for family dinners or holiday meals.


